Crayola Bluey Color Wonder Coloring Set, 18 Bluey Coloring Pages, Mess Free Coloring for Toddlers, B...
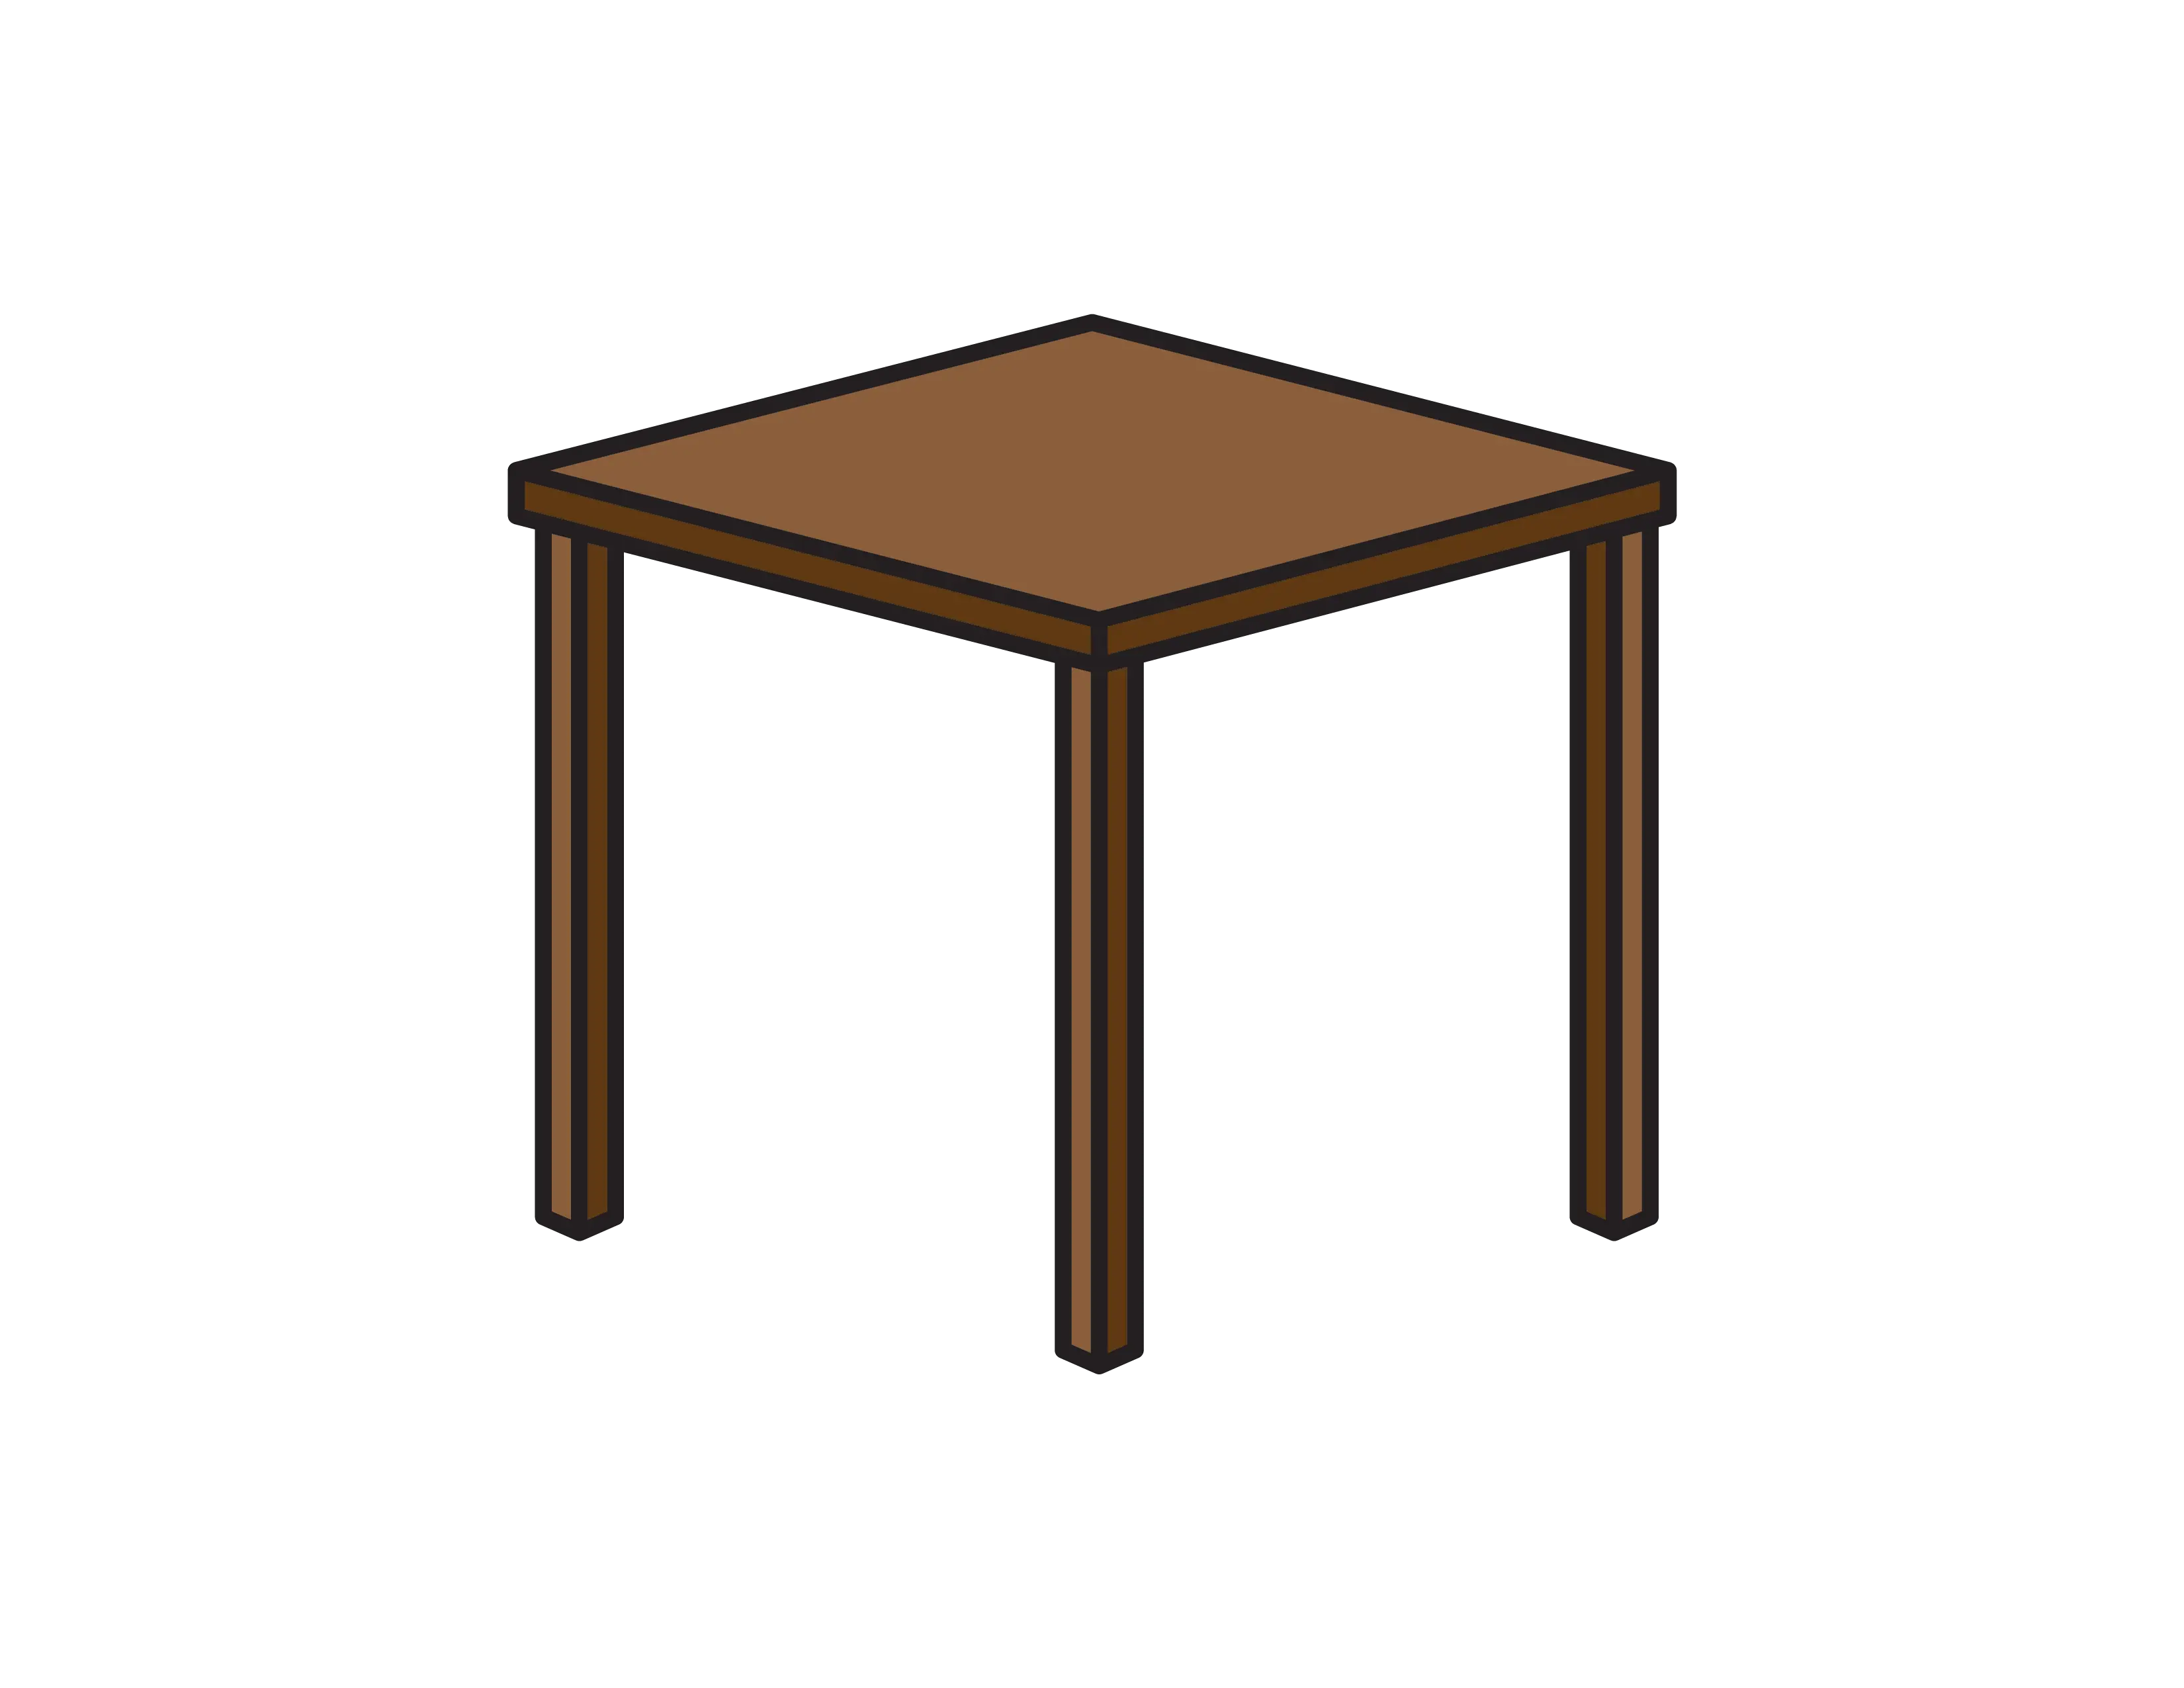
$6.40 (as of May 28, 2025 22:55 GMT -07:00 - More infoProduct prices and availability are accurate as of the date/time indicated and are subject to change. Any price and availability information displayed on [relevant Amazon Site(s), as applicable] at the time of purchase will apply to the purchase of this product.)Drawing everyday things is a humble way to see what we use every day is taken for granted. Tables are very easy to draw, in fact, you may not think you will need this tutorial. But drawing a 3d object into a 2d flat doodle you need to still make it look like it can stand properly and that’s the trick. Don’t worry, it’s still easy so let’s get started on learning to draw a wooden table in our everyday object series.
And why not check out our collection of free coloring pages for kids! We update our resources library regularly so feel free to check back as we add more and more content. We’re currently at over 1000+ coloring pages and creating more how-to-draw stuff art tutorials!
Note: This tutorial and our many others are suitable for ages 3 to 10 (preschool and above.)
🖍️ Tools For Success
- Paper (Our Free How To Draw Template PDF)
- Pencil
- Polymer Eraser
- Outline Markers
- Coloring Tools (I recommend Crayola’s 140 Piece Coloring Case)
🎨 Parents: The only tools you need to use these how-to-draw tutorials are: an eraser, a pencil, and a piece of paper. But – if you have them around – a sketching pencil makes for fainter and softer lines that help kids build fine motor accuracy. I also recommend going over the sketch pencil with a black outline marker when you’re done for a neater finish. Lastly, erase the pencil marks before adding color.
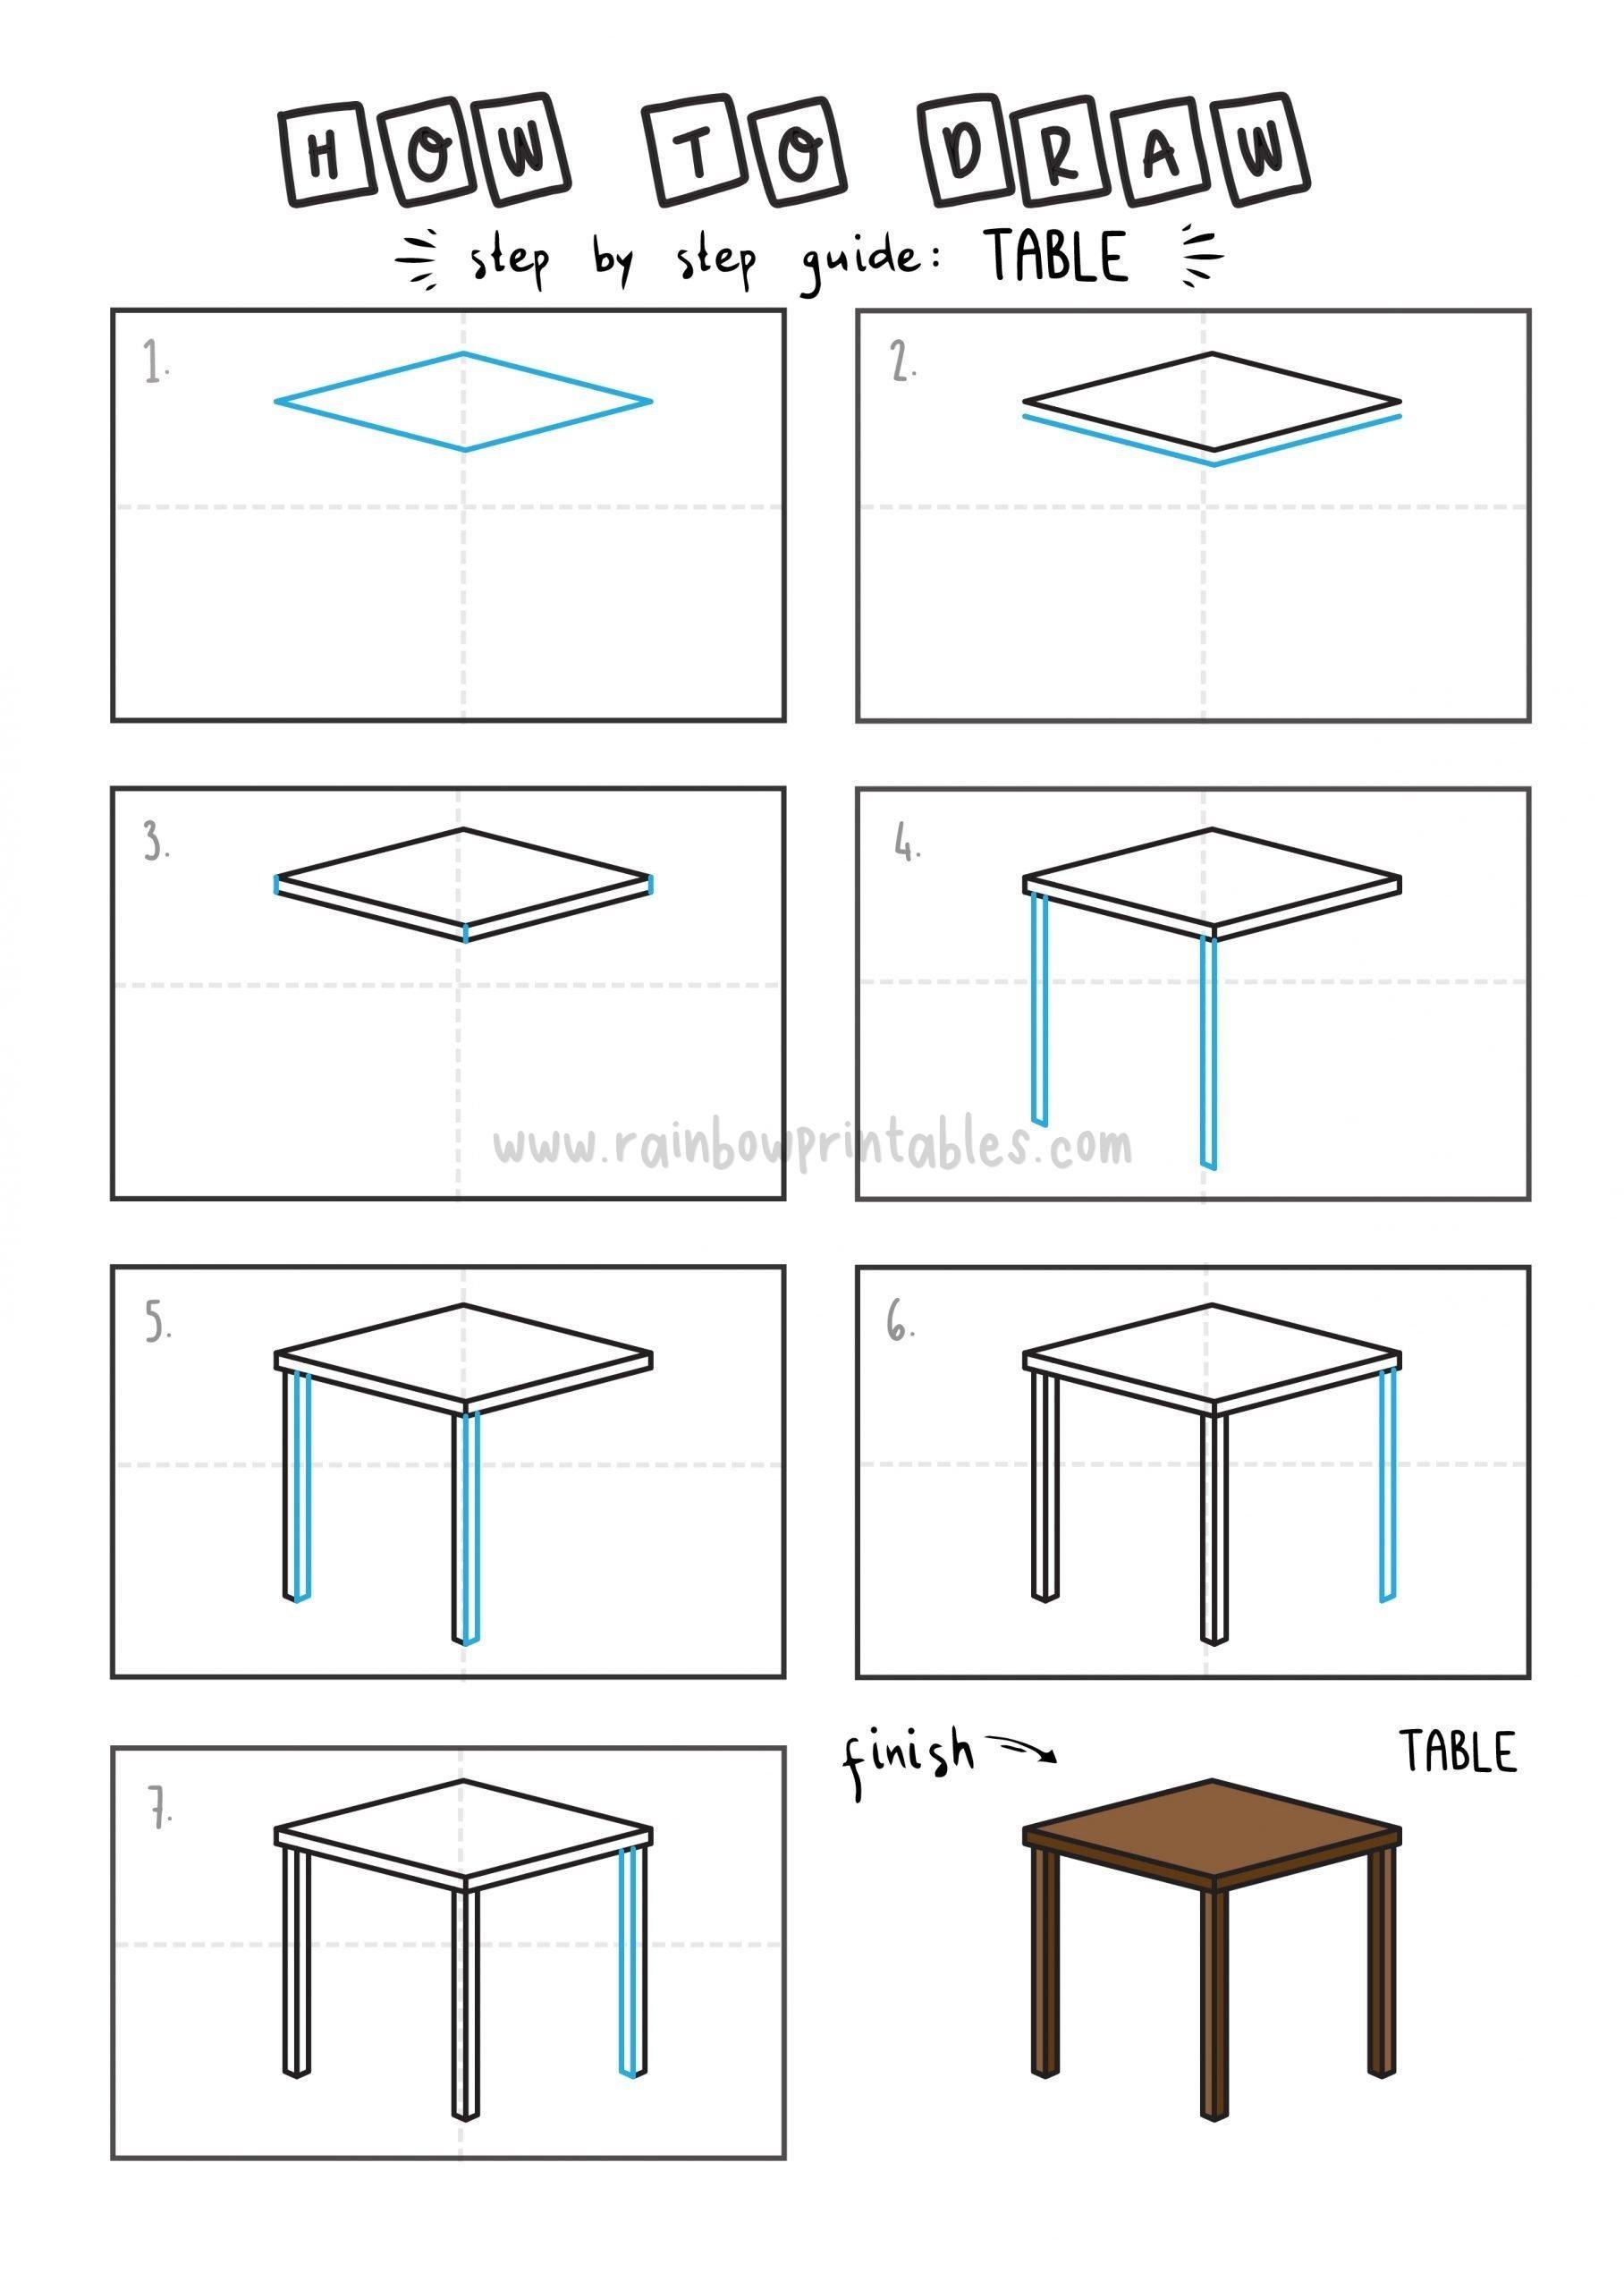
Learn To Draw a Square Dinner Table: Step By Step Guide
- Draw a big diamond base with a perpendicular line under it, making it look like a shadow. Make sure that the diamond is drawn in a horizontal view.
- Connect the three corners of the perpendicular line and diamond base with three short vertical lines. With these short lines, the diamond looks like a 3D shape.
- Beneath the base’s three corners, draw two vertical lines parallel to each other on the base’s front and left corner, enclosing them with a short horizontal line at the bottom. These lines serve as the table’s feet, and their length depends on how long you want them to be.
- The table’s feet appear tiny for a big table, so let’s add another vertical line parallel to the line on the right, enclosing them again with short horizontal lines. Now, the table’s feet fit perfectly with the table.
- Repeat steps three and four to complete the table’s feet. Originally, a table really has four feet, but let’s imagine that the other foot is hidden. Also, note that the feet should appear with the same length but in a diagonal position against each other.
- Let’s imagine a wooden table that lasts for years, so we’ll hit it with brown!
~
🔖 See our collection of How-To-Draw tutorial instructions for young kids! Check out our collection of free coloring pages for kids while you’re here too. We’re a group of independent illustrators that create coloring pages, how to draw tutorials, craft printables, and educational worksheets for kids. We update our resource library regularly so feel free to check back as we add more and more content. We’re currently at over 1000+ coloring pages and 500+ how-to-draw stuff guides for kids!
~
🖍️ Tools For Success
🖍️ MORE HOW TO DRAW TUTORIALS:
- How To Draw Beautiful Coral Reefs
- How To Draw a Piano
- How to Draw a Christmas Holiday Elf
- How To Draw a Viking
- How to Draw a Hummingbird
- How to Draw a Drum Set
- How to Draw a Police Officer
- How to Draw Lace
- How to Draw a Guitar
- How to Draw a Husky Dog
- How to Draw Sushi & Nigiri
- How to Draw a Dragon
- How to Draw Dr. Seuss Grinch
Help Support Artists Big and Small
We would much appreciate it if everyone who enjoyed or benefited from our how-to-draw tutorial series can give us a social media shout-out or a link back. This will allow us to create more content by 1) commissioning small, independent artists and 2) teach young children everywhere to create more through art. Thank you.


