Crayola Toddler Safety Scissors (3 Pack), Blunt Tip Training Scissors for Preschool, Kids Art Suppli...
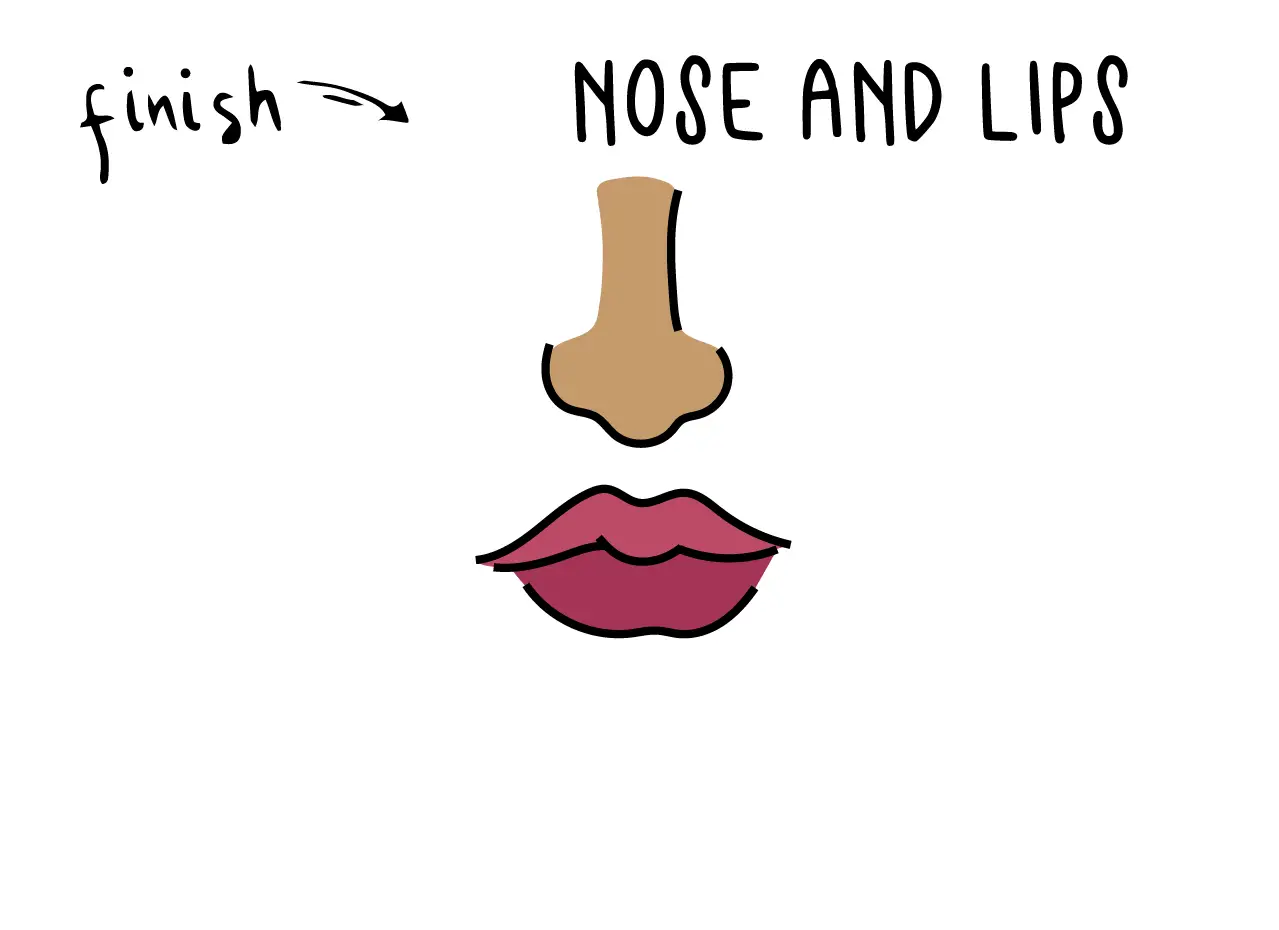
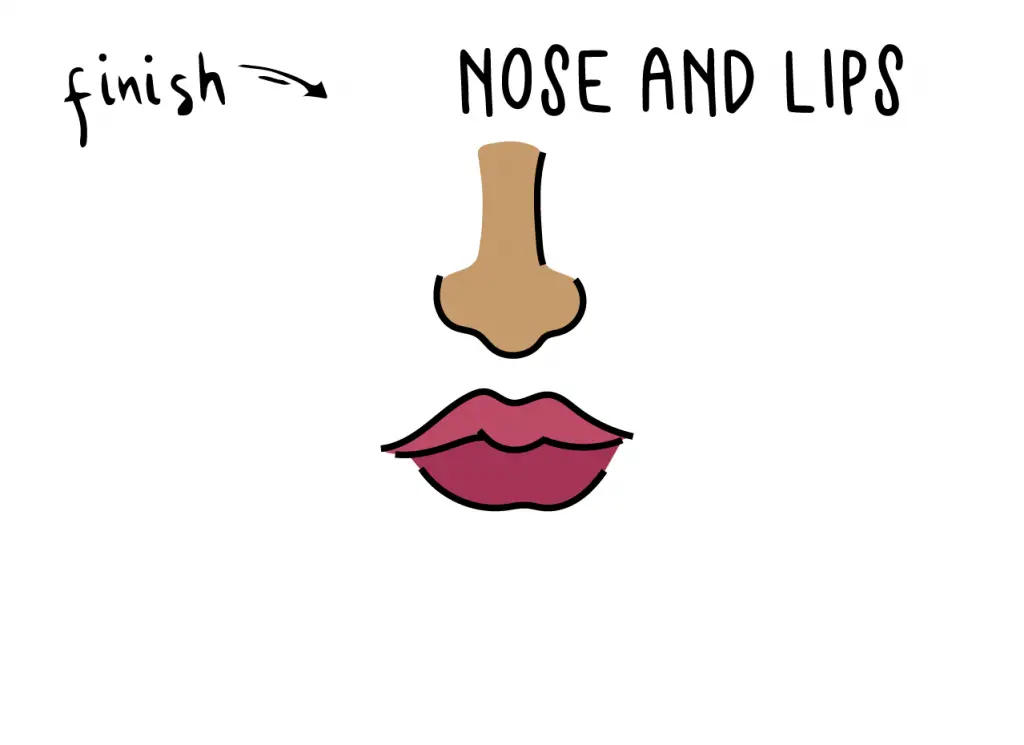
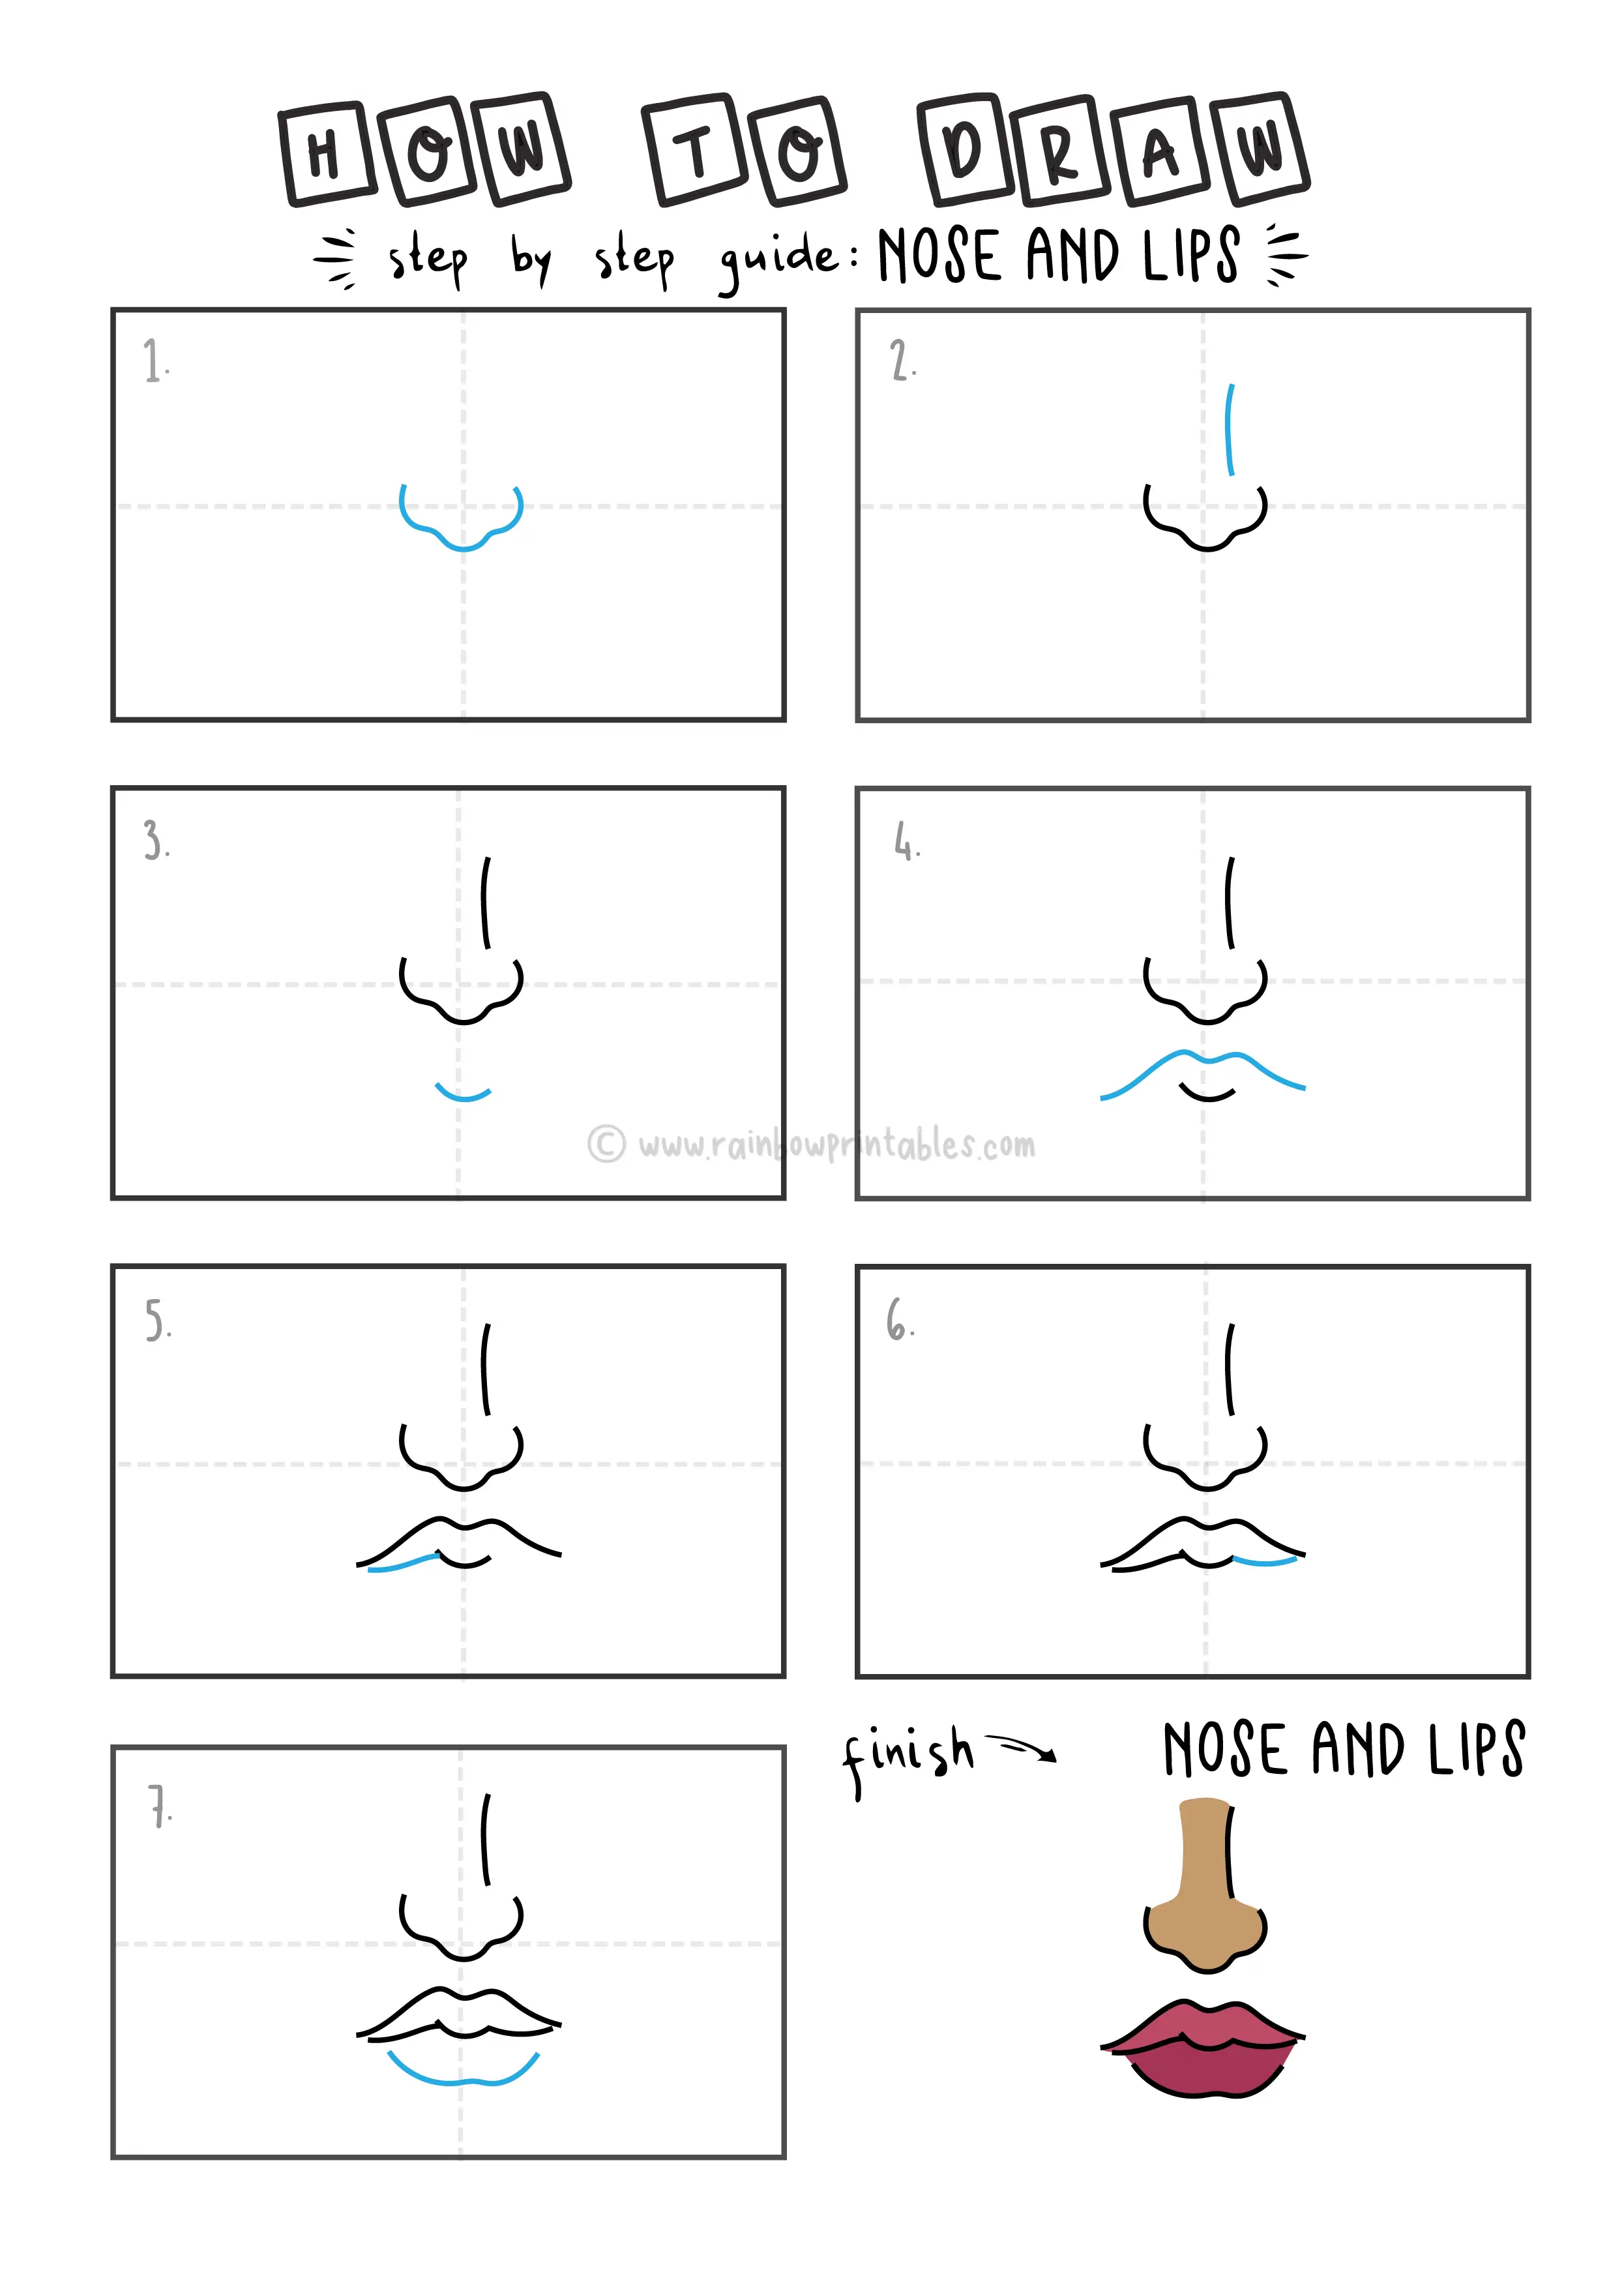
$3.97 (as of May 28, 2025 22:55 GMT -07:00 - More infoProduct prices and availability are accurate as of the date/time indicated and are subject to change. Any price and availability information displayed on [relevant Amazon Site(s), as applicable] at the time of purchase will apply to the purchase of this product.)Why are we drawing a nose and lips? Because I can guarantee that every person reading this sentence has a nose and lips? Haha 🙂 it’s important in many ways to have a nose and lips. It’s almost pretty much everywhere. I bet you’ve seen at least one pair of eyes and noses today (including doggies.) Plus, without a nose how would you ever smell a rose? Or pie? Or chicken a-la-king?
And why not check out our collection of free coloring pages for kids! We update our resources library regularly so feel free to check back as we add more and more content. We’re currently at over 1000+ coloring pages and creating more how-to-draw stuff art tutorials!
Note: This tutorial and our many others are suitable for ages 3 to 10 (preschool and above.)
🖍️ Tools For Success
- Paper (Our Free How To Draw Template PDF)
- Pencil
- Polymer Eraser
- Outline Markers
- Coloring Tools (I recommend Crayola’s 140 Piece Coloring Case)
🎨 Parents: The only tools you need to use these how-to-draw tutorials are: an eraser, a pencil, and a piece of paper. But – if you have them around – a sketching pencil makes for fainter and softer lines that help kids build fine motor accuracy. I also recommend going over the sketch pencil with a black outline marker when you’re done for a neater finish. Lastly, erase the pencil marks before adding color.
Drawing Guide Step By Step: Cartoon Nose & Lips
- Draw a big and long oval shape with two c-shaped curved lines on each side. The inner c-shaped curved line is smaller than the outer curved line.
- Inside the big oval, draw two horizontal lines parallel to each other. We can now be safe with our face mask, but let’s add another safety precaution.
- Look at your left hand, then outline it on the left side of your paper. Draw five long curved lines following your fingers’ shape and length with two diagonal lines at the end of the thumb and pinky fingers’ outline. Enclose it with two diagonal lines parallel to each other to form a glove.
- Of course, we cannot be safe with only one hand protected, so let us repeat step three on the right side of your paper, making your right hand the pattern.
- Medical masks and gloves commonly come in blue colors, so let’s color it then! But, you can always choose another color depending on what you like. Stay safe!
~
🔖 See our collection of How-To-Draw tutorial instructions for young kids! Check out our collection of free coloring pages for kids while you’re here too. We’re a group of independent illustrators that create coloring pages, how to draw tutorials, craft printables, and educational worksheets for kids. We update our resource library regularly so feel free to check back as we add more and more content. We’re currently at over 1000+ coloring pages and 500+ how-to-draw stuff guides for kids!
~
🖍️ Tools For Success
🖍️ MORE HOW TO DRAW TUTORIALS…
Help Support Artists Big and Small
We would much appreciate it if everyone who enjoyed or benefited from our how-to-draw tutorial series can give us a social media shout-out or a link back. This will allow us to create more content by 1) commissioning small, independent artists and 2) teach young children everywhere to create more through art. Thank you.

